Mini guide Raspberry pi 2014 (French Edition)
Uses microSD card slot to load OS. Also available is RiscOS, a non-Linux distro. The Raspberry Pi 2 boosted the board's specs to a quad-core processor and 1GB of memory - with the new machine racking up several times the benchmark score of its predecessor, as well as being able to run Windows 10 IoT Core and Ubuntu.
The board has the same single-core, ARM-based processor as the first gen Model B but it's slightly faster. The system memory remains the same. The Raspberry Pi 3 introduces support for a number of technologies for the first time. It's the first Pi to be based on a bit chipset and to include wi-fi and Bluetooth connectivity. The newer and faster chipset performs some 50 percent better than that of the Raspberry Pi 2 and roughly ten times better than the original single-core Raspberry Pi in a multi-threaded CPU benchmark like SysBench.
The new board is a beefier version of the Raspberry Pi 3 Model B, sharing many of the same specs but overclocking the processor to 1. On top of the faster processor, the new board also boasts improved connectivity, adding support for dual-band Gigabit Ethernet over USB 2. Local and regional approvals listed here. Weird but really useful gadgets. This is a listing of some of the weird, odd gadgets that I've picked up over the years but have found them to be super useful, use them pretty much daily, and have practically become worth What's in an IT pro's toolbox?
Gone are the days of being able to make do with a screwdriver, a pair of pliers, and some sticky tape. If you're in the business of repairing PCs, smartphones, or tablets, then you need Inside Lenovo's new Beijing campus. Lenovo showed journalists around its recently opened campus in Beijing, which aims to create a 'Silicon Valley environment' for its 10,plus employees. Top 10 iPhone accessories for Over the course of I've used a lt -- and I mean a lot -- of different iPhone accessories.
Many were abysmal, some were good, but there were some that were just awesome. Here are my top Apricorn Aegis Fortress L3 portable storage drive. If you're looking for a fast, ultra-rugged, secure encrypted portable storage drive that's available in both HDD and SSD flavors, look no further than Apricorn's new Aegis Fortress When i do start al over. How can i create a backup from my current World? It would be nice NOT to start over in Minecraft as well. Spigot updated their server to version 1. After this i started the tutorial from point I did not remove any files.
I did not make an new Raspbian image. Just an very ugly update, which is not ugly at all. Hello Daniel Thanks so very much for creating these tutorial! I followed them and everything of instalation worked well, but how can i connect to the server from android devices? Hi, thanks for the guide, It was very usefull to get the base server up and running on the pi The next challenge is to put some mods on. This proved to be more challenging than dropping them into the mods folder. There are more mods for 1. Create a new dir called something like minecraft1.
This will download the corresponding 1. Your base server is now setup 4 Get a 1. You can usually see some messages about mods being loaded. The client and the server need to be at the same levels of mods and forge. It makes it a pain to get others on the server, but the mods make it much more fun. Choose the forge 1. No dogs then review the steps above. If you have any remote players then you will need to redistribute them again.
Just wanted to say thank you for this guide. I was able to get a server rolled out for my daughter and her friends after the public server they were on had some very perverted teenagers on it harassing her. For those who want to update, its very easy to do by going to the spigotmc site and running the command to update usually linked on the site. Example, to update to the SpigotMC 1. Many thanks for these instructions. One weirdness I encountered that may be of interest to others: For some reason the router assigned by our ISP uses. If you create a symbolic link from the latest Spigot to spigot.
Thank you for the clear and precise tutorial. After upgrading to 1. Anyone out here have an answer? Kick self in head: I had to change the profile in the Windows client to accept the latest version.
I had set it to 1. Hi, this may be a silly question: How do I adjust this tutorial to play Minecraft 1. Thanks also for the tutorial. Hi I am trying to get my PC connected to the server by ssh but when i type the name it says that the host does not exist. Hello everyone, I found surprisingly a way to update everything to the last version of Minecraft.
25 fun things to do with a Raspberry Pi
For everyone getting Errors: The new Version 1. So you can either use the old version or wait for an update. Hello Gregger, just a quick note to let you know that the Minecraft Launcher 1. Thank you very much. I finally got things going with a different approach. I start the server via cron job and not via a call from rc. Be sure to have an empty line after this line if it is the last line in the script and save it. Finally you should remove the call of the minecraft.
I was wondering how to fix this. It will return you to the shell. To access the console of the server type screen -r minecraft, to return to the shell type ctrl-a d. Yeah, I read that thanks….
- Applied Optics Fundamentals and Device Applications: Nano, MOEMS, and Biotechnology.
- Support my work!?
- 2. Make your own Pi case.
- Turning the Other Cheek.
I did fresh build today on noobs and every thing seems to be better. Build times are are seconds not hours per percent… Whole intial load took maybe 5 minutes now. I think something with the retropi build was messed up bad and either hogging the CPU or something with the java version. Anyway pretty sure starting over on a new card as suggested in the doc was the right way to go. Java heap space at org. Error running command, return status!
Set up a Pi3 with your instructions a few months ago and everything worked beautifully. Thank you for the detailed instructions! Did a new build recently with latest version of Raspbian and Minecraft 1. I was never able to access via SSH. SSH was enabled and a port scan showed port 22 is open. Any suggestions on how to get SSH access to work? But i did have trouble connecting to the server… but after some debugging i found that the fault was on me. Tried to install a Minecraft PE server called pocketmine using a different guide, but still using elements of your guides script, screen ,mem setup… I did succeed to get the server up and running, But there were no mobs and i think it was low performance i terms of graphics lagging when i run fast and loading slowly.
I took the easy way out. Had a almost broken android asus transformer TF were the screen was broken. Started up a minecraftPE game and shared it. NOT pretty but it worked for now. Amazingly done, followed your guide and now I have a home server, thnaks a lot for the time you put into it! I make my coffee from green beans that I have to roast and then grind. This is necessary to make sure that I can be sufficiently patient.
Could not resolve hostname raspberrypi. But as soon as I exit it and start trying to ssh again, it becomes stubborn. Minecraft does not use ssh. We use ssh just to manage the server. Without ssh, you would need to connect to the Raspberry Pi physically to manage it which means actually use a keyboard and a screen connected to it.
If you are going to use the Raspberry Pi, it is best to connect it directly to your router: I have had no end of trouble trying to run a Raspberry Pi server using wifi: Grabbed it and scoured for a good Minecraft Server guide. Yours was the best I came across. Even have a free No-Ip service established. So far it hangs around 1.
Hi Daniel, thanks for these instructions. Worked like a dream and I learned lots too. Also managed to extend it to working with Mods which my boy was very pleased about. I wrote a quick cron job to do a nightly Raspbian reboot at 4AM. Seems to help free some lost RAM. I am not sure that rebooting periodically is generally a good idea. It is should be possible to let a Linux machine run for days, weeks, months… without problem. Certainly, I would not force a reboot as you may corrupt your data files.
If you must reboot automatically, consider setting up minecraft as a service e. Doing so is beyond the scope of my tutorial, however. Works fine with lastest version of Minecraft 1. I have just a problem with hostname of the raspberry: Just created a server using your tutorial and made it available on the internet for my friends by openning port I had a question tho, is it possible to use a world we already used before? I was thinking about just copy pasting the world folder on the sd card but it looks like a bad practice.
What do you suggest to do for restarting the server if it crash? I mean, some script that runs periodically your initial script or something more fine-tuning? I think that I answer this question in the last paragraph of the post. It is not going to provide you with a more powerful Minecraft server, obviously. The benefits, if any, are elsewhere. Great post Daniel, works a treat. Great article, easy and everything worked out good. I do have question on maximum capacity of the player. I see currently it is set to 20 and my son asked if it can be higher.
STICKY: Getting Started with the Raspberry Pi - Raspberry Pi Forums
Have you seen the limit with setting you suggested above? I am using Pi 2. You should expect higher latency and less stability as the number of simultaneous players increase. I have not tested the server with anything close to 20 simultaneous players. I have run out of children. My son just asked me to set up a Minecraft server for him to use with my 7-year-old grandson.
This well-written tutorial sounds like just the thing, especially since I just set up a home file server on a Raspberry Pi and I love the platform. Thanks for these instructions and also for your patience and sense of humor. I just received the Raspberry Pi 3 that I want to set up as a Minecraft server. I followed your instructions and everything worked fine. I did have one minor hiccup: If I connect to mineserver.
I suspect this is due to the installation of avahi-daemon per your instructions on the Minecraft server but not on my home file server. Further detail is given at https: It should nestle very nicely next to his router! I have followed all steps, when I type. So I decided to do the rest on the TV my pi was plugged into without making it headless. I typed java -jar BuildTools. I walked out of the room and I walked in 10 minutes later and the screen was just black. It had a signal and was on, but black. Im scared to do anything because the green light on the Pi 3 is still blinking so I think it is still downloading.
What do I do? Thanks for these great instructions! We followed every step carefully and the server now works very well on a Raspberry pi 3 with Spigot As a final step we copied multiple worlds, settings-files and plug-ins etc. My son and his friends can now play on where they left off before the transfer to the pi. And they are very happy. We use a 32 Gb class 10 sd card. We randomly tried -XmxM and It worked.
The incremental garbage collector -Xingcgc may or may not be a wise choice. It has been deprecated and will no longer be supported in future Java versions. I do not think it is expected to be useful. Any chance you might expand on these topics in the blog post? From researching on google, I believe that I would have to just edit the minecraft. Any help would be greatly appreciated. The tutorial specifies java -jar -XmsM -XmxM spigot These are not the same strings.
Hey Daniel, thank you for this tutorial it helped me very much, but I need your help. Everything worked until I entered the command to start the server with screen. There is a whole bunch of commands to type before you got to. Trying to update to 1. Tried a couple different ways. Appreciate any suggestions, hate to scorch earth. Looks like the part I was missing is you need rm -dRf your old Build directory. Guess I wrongly subconsciously thought it would over overwrite any old stuff. Not sure if the other two needed removal or not, but seems to fetching and building now.
There is no screen to be resumed matching minecraft. Hello daniel, i was just typing my comment that i couldent get it working. I have quintuple checked my minecraft. When I start the server with. When I type screen -r minecraft it returns the same error as Joris is getting: Ok, so you launched the server initially and it worked, you got the server working. Because this is not clear from your comment. I found the mistake I made. Or do you know how to uninstall the spigot package without undoing all the previous settings? I realised that after I did it the hard way.
I initially used your tutorial months ago but never put it in play. I wound up having to use it again to rebuild the idea from the ground up. Thank you for taking the time to make it really easy to build the simple server. Thanks for this guide! Hi, I have a little problem. If you have any ideas, please reply. That player will now be able to use commands. You can also set the game mode from the server. The default, I believe, is survival on easy changed mine to hard. But when I run the command: I used WinSCP to check but there is no tmpfs file.
I made sure I installed all packages. Because you followed the guide step-by-step, you have the latest Raspbian, have you not? Just to confirm, can you type uname -a in a shell and report back on the result? It should look something like this:. After logging into xbox live required by MS , the tablet does not find the local server it does see the three partner Internet servers. The VM will try to fix the stack guard now. Aside from that one warning, the server load appears to complete and is running, but I cannot find a way to connect to it.
Stopping the server also works as you outlined. Anything else I have overlooked? These instructions are for the regular Minecraft, not the Pocket Edition which is entirely different software. We are going to setup a Minecraft server for the regular desktop Minecraft. There are other Minecraft versions, such as the Pocket Edition, but they require different software.
Thanks for the clarification, I did not realize the tablets were actually running PE. Guess I will need to install the full version on their desktops or use additional Raspberry PIs for clients. Rick G, Minecraft PE, along with other versions based on the Bedrock Engine like the Windows 10 version are cross-platform compatible now, but they do require a different server. The original Java version, which is no longer true Minecraft according to Mojang and Microsoft, and the Windows 10 version, which is one of the true Minecraft versions.
A Raspberry Pi3 can run a server quite well. Running the Java Edition Minecraft game, however, is quite another story. After spending quite a lot of time trying to get it to run as well as Raspbian does on my Pi3, I decided that the Tinker Board might be better used as a Minecraft Server. You just need to be able to boot up, connect to a network and install Java, which you can do on TinkerOS. So I installed the latest version of Oracle Java and once again used this tutorial to get the server up and running on the Tinker Board.
A quick initial comparison did not reveal any significant performance difference between my Pi3 server and Tinker Board server, but we did only have 2 people logged in. You will have to install Java, git, screen, and even nano or use something else for editing. I recommend you use the webupd8team PPA for Java, since it will update Java like other packages also install dirmngr if you are going to use the PPA tutorial. Building the Spigot sever is certainly faster, but it still takes quite a while. It also launches the server in about half the time. After a year doing other stuff with my Pi, I installed Minecraft on a fresh installation with this manual.
I made a backup of my old world. Copied it to the new installation. And started the server again. It took awile for the game to logon, some error about old achievements, some new created instant. But the best, i am in my own world again. My problems lies with not being able to connect from my kids android devices. Can I send you some logs in order to help my trouble shoot this? I think your comment gives me enough information to troubleshoot this without further information.
Let me quote the third paragraph of the guide: Thank you so much for this! I had a spare RPi3B laying around, and my daughter wanted to setup a server for her friends to play on. So, following your tutorial after installing Noobs lite and the Raspian full distro, worked a treat.
- Setting up a “robust” Minecraft server (Java Edition) on a Raspberry Pi – Daniel Lemire's blog.
- New World Man - Earth Year 2018 (Fully Automated - A Forecast of the Near Future 2016 to 2032).
- Ser Tan Bueno No Es Tan Bueno (Spanish Edition).
- America: Past and Present, Combined Volume?
- Photos of the Raspberry Pi through the ages: From the prototype to Pi 3 B+ 5 - Page 5 | ZDNet?
- ?
Regarding the external connectivity. Doing this on any modern modem is pretty simple check out http: I opened the ports of the router and I have the server online also through no-ip. For those interested, they can access the server in the latest version available 1. The only version of Minecraft that is free is the Raspberry Pi version, which is a really stripped down version designed for educational use.
If you buy the Java Edition for which this tutorial is written you will also get the Windows 10 version for free. Also i had some trouble withe the minecraft. I sugesst some kind of checklist after this section so you can verify your Pi is setup correctly.
1. Mod My Pi
Is there any significant difference between these two commands or do they both do the same thing? If there is a difference, do you have any ideas where I am going wrong? Thanks for the brilliant guide! Thank you for these amazing instructions! I followed them and everything worked. As I have an eight-year-old grandson who is fond of Minecraft, and a multiplying number of 3D printers with attached and mostly-idle Pi3s, I find your narrative of use. I had little hope when I tried this because its 2 years old and I never had good experience with 2 year old tutorials.
It all worked like a charm, great stuff man. Thanks for posting this. Hey, I just built a Minecraft sever and I noticed that windows has a new update. I set up everything today, but when I try to connect to the server Minecraft shows me a failed message:. Thank you for this tutorial, its working good for me, except that I can not get it to starte the server on reboot. My question is, however: Just installed Minecraft server. But the Minecraft game is version 1. Is forcing to get a new spigot This one can be run to finish this hole plan.
I tested it and it works. Well not stable, but it could also be possible to the running Domoticz server. If you have any thoughts as to why I would really appreciate it! It has to do with a newer version, see: Without required arguments i still get version 1. With required arguments —rev 1. BUT, this last 15 minutes ago, it does exist. So i am creating a new jar file with: After typing sudo java -jar BuildTools. I tried different versions of minecraft and BuildTools, with the same result. I made the same experience and after waiting patienty, I can tell you: Unfortunately the process is running into some errors later.
Last year the instructions from Daniel thanks a lot! I did everything as said and it worked perfectly but what I also wanted to do a modded server on the pi to do you have any tutorial on that? Your email address will not be published. For more help see http: Notify me of followup comments via e-mail. You can also subscribe without commenting. Skip to content My home page My papers My software.
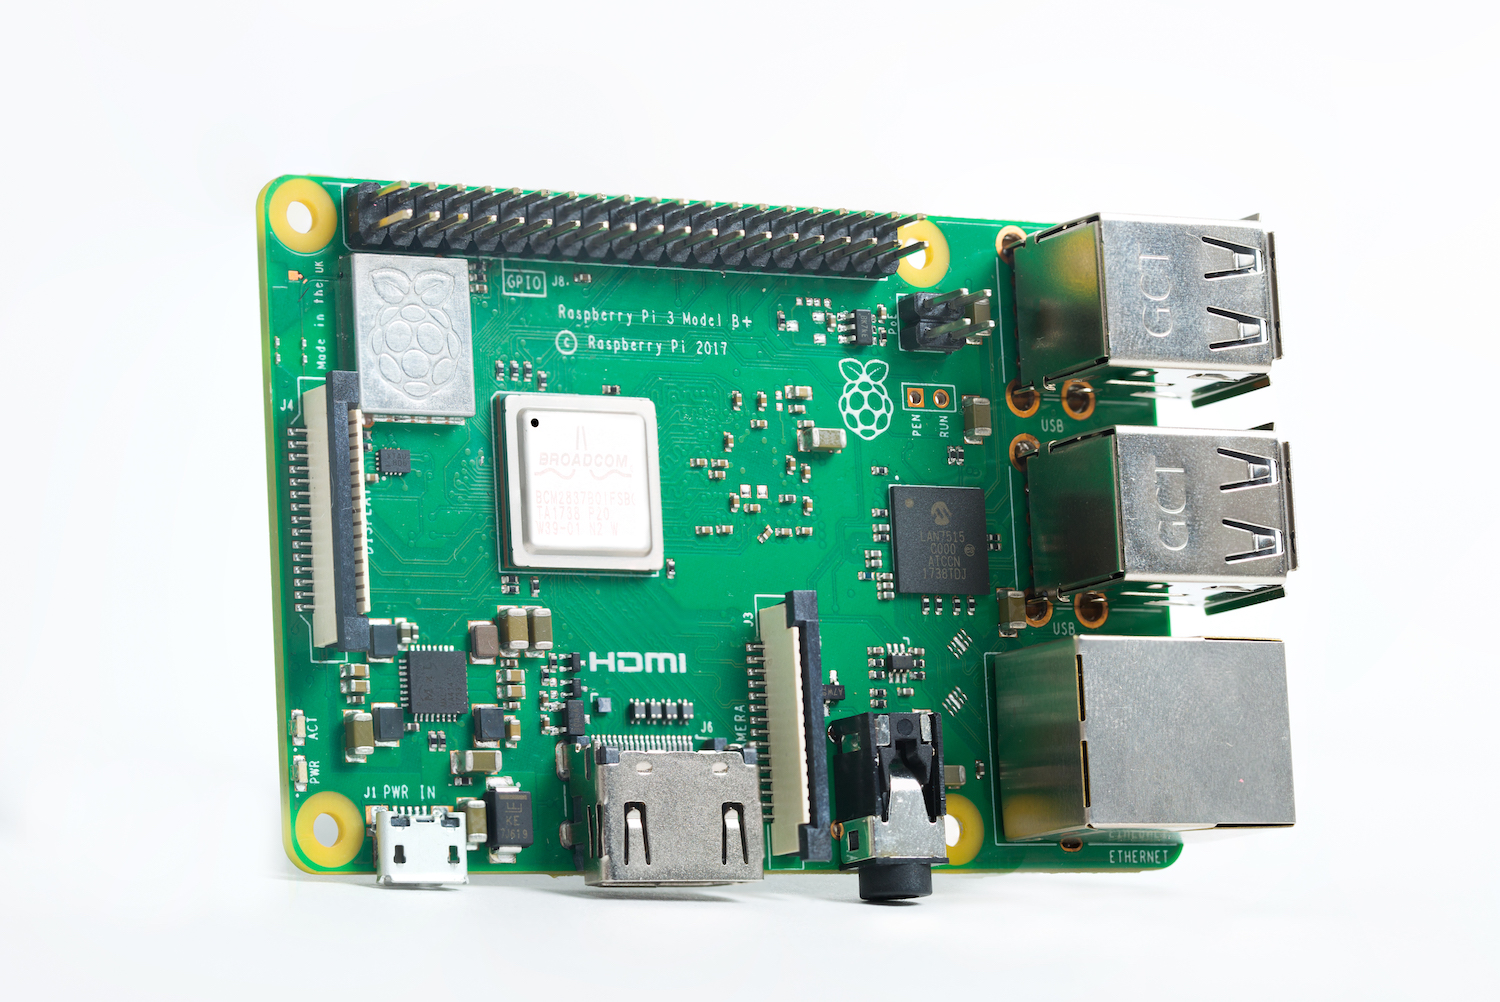
Prerequisites You need a working computer connected to the Internet. You need to buy a Raspberry Pi. I recommend getting either a Raspberry Pi 2 or a Raspberry Pi 3. I tried long and hard to get a stable and fast server running on a first-generation Raspberry Pi, but it was not good. I find that the Raspberry Pi 3 is much better than the Raspberry Pi 2, unsurprisingly.
I recommend that you dedicate the Raspberry Pi to the sole purpose of running a single Minecraft server. Trying to run other software, or more than one server, on the same Raspberry Pi is likely to cause troubles. So if you want to do several projects with a Raspberry Pi, then order several Raspberry Pis. You need a power cord to go with the Raspberry Pi. Moreover, you need a micro SD card. I recommend getting, at least, an 8GB card.
Given how cheap cards are, you might as well get a larger card so that you do not ever have to worry about running out of space. I recommend getting the fastest card you can find. Speed is normally indicated as a number, such as 5 or Higher numbers are better. For good measure, get several cards. I recommend getting a nice plastic box to enclose your Raspberry Pi, just so that it is prettier and sturdier.
You might also need an ethernet cable if you do not have one already. My instructions assume that you get the full version. Please use the full version the lite and the full versions are both free. If you have an old version of the operating system, do not try to upgrade it unnecessarily. Starting from a fresh version is best. Simply follow the instructions from the Raspberry Pi website. Downloading the image files takes forever. Connect your Raspberry Pi to your router through the ethernet cable.
Put the SD card in the Raspberry Pi. Do so with some care as you can easily damage the SD card or the Raspberry Pi by pushing the card at the wrong angle or with too much strength. Plug the monitor, the keyboard, and the mouse. Plug the power in and it should start. The Raspberry Pi will launch in a graphical mode with mouse support and everything you expect from a modern operating system: Hopefully, you have Internet access right away.
Because I am assuming that you are using an ethernet cable as opposed to wifi , there should be no configuration needed for Internet access. Do not change it even if you know how. If you do so, you will need to update all the instructions: Go to the terminal.
You should be able to find it quickly by navigating through the graphical desktop and looking the icons. In a shell, you type commands followed by the enter key. You are on your way to becoming a Linux hacker! Optional It helps to know that files in a modern computer are organized into directories sometimes called folders. Directories can contain other directories, and so forth. You can create new directories under this home directory.
You generally cannot write to files located outside your home directory and its subdirectories, nor can you create new directories everywhere: However, you should only use the sudo when it is strictly necessary as it is a security risk and it affects the file and directory permissions. It might help if you are familiar with the following shell commands: Install a few extra packages by typing this command line sudo apt-get install netatalk screen avahi-daemon , followed by the enter key.
Though the command may span more than one line in your browser, enter it as a single line. Do not skip this important step. Please do not get into an argument as to whether you need all three packages: Try typing screen -list. If it complains that there is no screen command, go back to the previous step and install it.
I am recruiting!
Otherwise, you should get a message of the type No Sockets found: Then type sudo raspi-config. This command starts a little configuration tool. First, tell it to expand the file system so that it uses all the SD card. For safety, I recommend changing the default password the default account is called pi with password raspberry. You want to tell the Raspberry Pi to boot in the shell: Console Autologin Text console, automatically logged in as 'pi' user.

In Internationalisation Options, you may want to configure the time and locale. You may want to set the overclocking to the maximum setting, if the option is available. Overclocking is optional and may cause instabilities and crashes. Under the advanced options, you may want to check the Hostname value. It defaults to raspberrypi , I assume you are not changing it. You may need to change it if you have several Raspberry Pis on your network. Make sure that the ssh server is on.
A nice trick at this point is to find the IP address of the Raspberry Pi on your network. Type ifconfig grep "inet ". In that case, Note that if you can access your router, you should also be able to find the IP address of your Raspberry Pi, but not everybody can or should access their router. Then append a new line: You can easily setup several such servers, just buy more Raspberry Pis!
Excellent tutorial, thank you. My little Pi 3 is running a minecraft server right now. I have written your script as you have done but I get the error. When I corrected the script it ran the minecraft server but gave errors and crashed. I am not sure of the errors as it was going to fast to read. I can boot the server up by itself without the script Cheers Sean. Not sure what else I can do to get the script to work.
Do you think a reinstall of Netatalk might work or an older version? I have installed a new image and the script is not working still. I followed the instructions to the letter. You are not rude but these instructions are thoroughly tested and definitively work. Are you sure you grabbed the right spigot? Retried with Raspbian Jessie Full rather than Lite, worked first time with no issues. Hello Daniel, from Paris.
Daniel, Just wanted to say thank you so much! Daniel, Thank you so much for your post. Thank you in advance. Perhaps my question is better in this way: Thank you in advance, Julio. Hi, thanks for the great tutorial! An improvement for you setup: Do you have benchmarks showing that the server flag actually improves the performance? So we want a JVM optimized for low-latency. Very intetesting tutoriel, I found here info that I never seen. Great tutorial — All though I cant get the startup script working: You have to explain what this means: I just wanted to thank you for this tutorial.